Installing A Linux Web Server Step By Step With Pictures Step 2
This Page Contains information about Installing A Linux Web Server Step By Step With Pictures Step 2 By wallpaperama in category Tutorial And Guides with 1 Replies. [1458], Last Updated: Sat May 18, 2024
wallpaperama
Wed Sep 24, 2008
1 Comments
1422 Visits
11. Next you can configure you network devices. if you are an advanced user, you can configure your settings to static ip. if you dont know what this is. just leave it as is and click next
########################################################
############ FOR ADVANCED USERS: #######################
########################################################
if you want to setup your server as with static ip follow these steps. you will need:
* STATIC IP ADDRESS
* SUBNET MASK ADDRESS
* DEFAULT GATEWAY
* PRIMARY DNS NAME SERVER
* SECONDARY DNS NAME SERVER
IF YOU DONT HAVE THE ABOVE, ITS BETTER THAT YOU SETUP YOUR MACHINE AS NOT STATIC IP, BUT SELECT DHCP
click on the edit button and you will see the Edit Interface windows. here set the following. for example, i will be using an ip of 192.168.1.102 with a gateway of 192.168.1.1 and clic OK
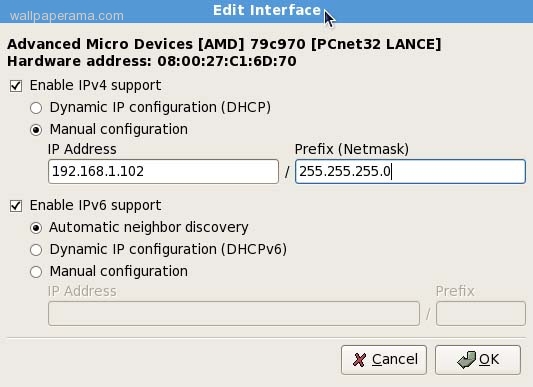
now populate the other information:
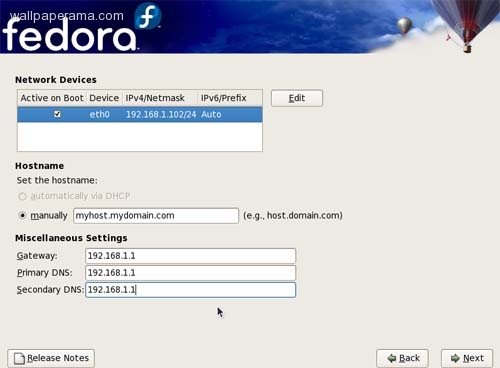
###################### END #############################
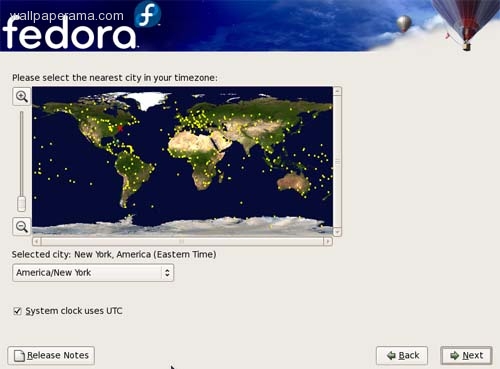
12. now you will be asked to setup your time zone
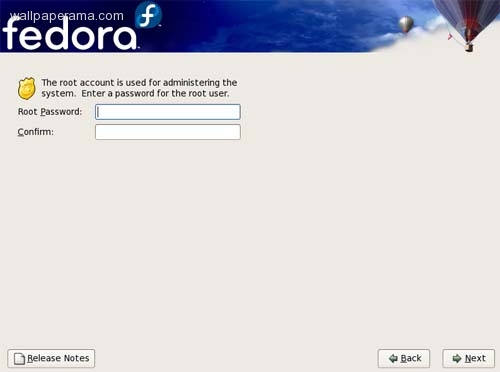
13. provide a root password. i will enver wallpaperama as the root password for this tutorial
14. Choose Installation type. i will use this computer as a web server. but you can choose office and productivity if you want. but for now. just choose server. so Choose:
- Web Server
- Select Customize now
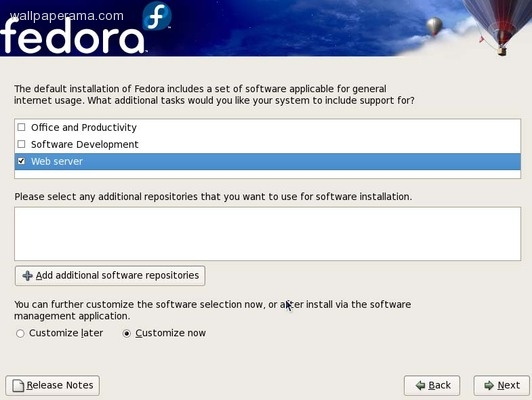
15. Now its time to install the necessary applications to run our web server
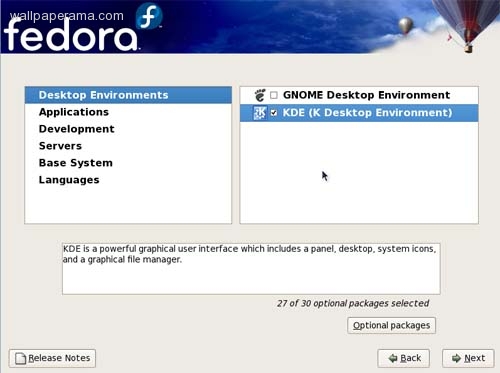
Desktop Environments
- KDE (K Desktop Environment)
Applications
- Editors
- Graphical Internte
- Text-base Internet
Servers
- DNS Name Server
- FTP Server
- Mail Server
- MySQL Server
- Server Configuration Tools
- Web Server
Base System
- Administration Tools
- Base
- Hardware Support
- Java
- System Tools
- X Window System
When you have selected the above, click next
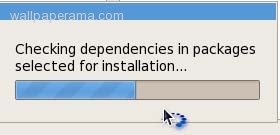
16. Click next to begin the installation
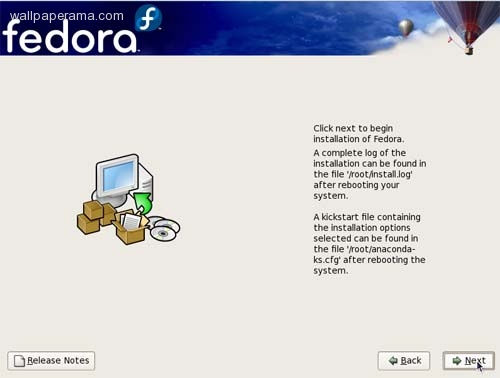
The installation will continue. depending on the speed of your computer, it may take up to 30 minutes to complete.
17. once the installation of all the packages has been completed, you will be asked to remove your CD and reboot
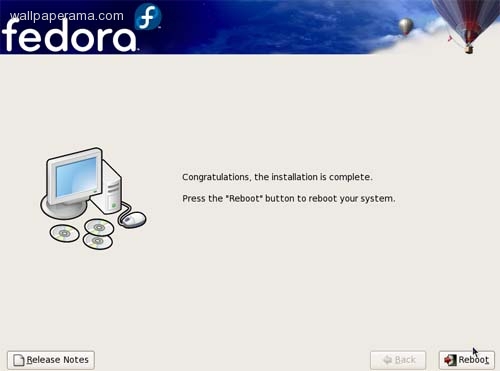
18. After you reobot, you will see the linux kernel will start to load. Congratulations.. you will see the welcome screen. click forward
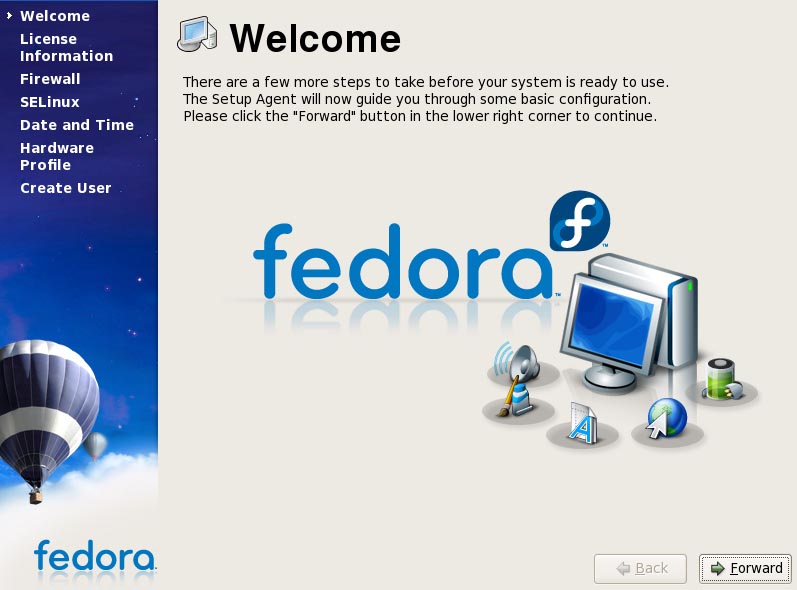
go to the next steps
mel
Sat Nov 01, 2008
starting smartd: [ ok ]
did i do something wrong?
https://www.wallpaperama.com/forums/installing-a-linux-web-server-step-by-step-t6380.html